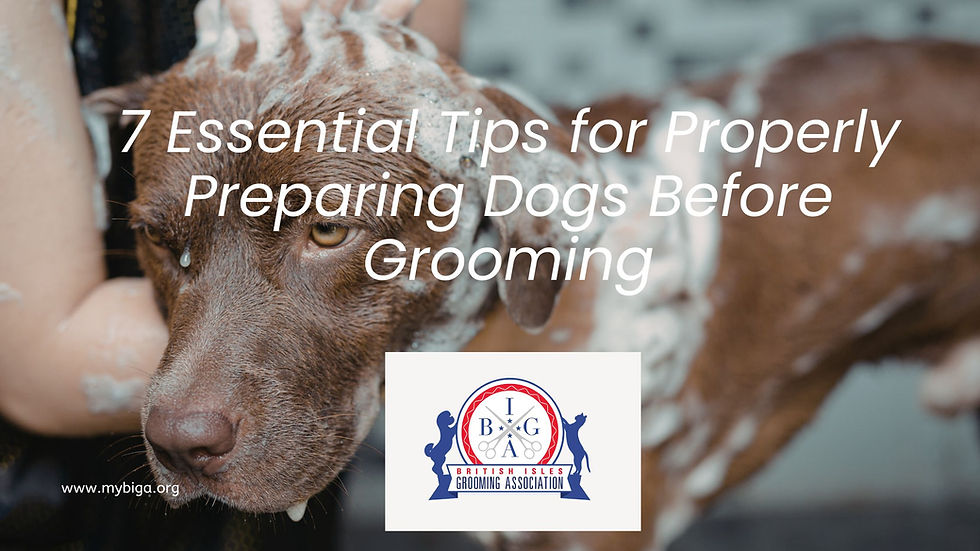
7 Essential Tips for Properly Preparing Dogs Before Grooming
- Polly Shears
- Mar 30
- 3 min read
Why Coat Preparation Is the Foundation of Every Great Groom
In professional dog grooming, the finished result is only as good as the preparation that comes before it. Yet, one of the most common issues seen across the industry is poor coat prep — leading to uneven finishes, blunt blades, sore hands, and stressed dogs.
At British Isles Grooming Association, we believe raising grooming standards starts with mastering the fundamentals — and coat preparation is one of the most important.
Whether you're a student groomer or years into your career, these six tips will transform your results.
1. Preparing Dogs-Start With a Full Coat Assessment
Before water even touches the dog, take a moment to assess:
Coat type (double, curly, silky, wire)
Level of matting or compaction
Skin condition (dry, irritated, greasy)
Parasites or abnormalities
This step ensures you choose the correct products, tools, and approach — rather than rushing in blindly.
💡 Professional tip: Groomers who skip this step often end up fighting the coat later.
2. Always Pre-Brush (But Do It Properly)
Pre-brushing removes surface debris, separates the coat, and identifies problem areas before bathing.
However, aggressive brushing on a dry, matted coat can cause:
Coat breakage
Skin irritation
Discomfort for the dog
Use a light misting spray or detangler to support the process and reduce friction.

3. Choose the Right Shampoo for the Coat & Skin
Not all shampoos are created equal. Using a harsh or incorrect product can strip natural oils or fail to clean effectively.
Consider:
Sensitive skin formulas for reactive dogs
De-shedding shampoos for double coats
Deep cleansing for greasy or heavily soiled coats
💡 Cheap, highly diluted shampoos often lead to poor prep — meaning more work later and a worse finish. Always keep a coat conditioner close buy and use it on the pet to replenish the natural oils that the shampoo has removed.
4. Master the Art of Shampoo Application
Application matters just as much as product choice.
Always dilute shampoo correctly, as per the manufacturers instructions
Work it evenly through the coat
Focus on problem areas (feet, sanitary, underarms)
Avoid just “washing the top layer”
Proper cleansing removes dirt, grease, and buildup — all of which affect how blades and scissors perform. Don't be afraid to bathe the dog more than once, especially when it comes to the head area. The legs and body could look and feel clean, but the head could still look iffy.

5. Rinsing Properly – The Step Most Groomers Rush (and Regret)
Rinsing is one of the most critical — yet most rushed — parts of the grooming process.
If shampoo or conditioner is left in the coat, it can lead to:
Skin irritation and itchiness
Product build-up affecting coat texture
Poor clipping and scissoring results
Faster blade dulling due to residue
Proper rinsing means:
Running water through the coat until it is completely clear
Paying close attention to dense areas (armpits, groin, under the neck, tail base)
Lifting the coat to ensure water reaches the skin — not just the surface
💡 A coat that hasn’t been rinsed properly will never perform properly under tools.
At British Isles Grooming Association, we emphasise that rinsing is not just about removing shampoo — it’s about resetting the coat to its natural, workable state.
If it’s not rinsed right, it’s not prepped right.
6.Drying Is Where the Magic Happens
Drying is not just about removing water — it’s about setting the coat.
A properly dried coat should be:
Fully dry (not damp underneath)
Fluffed and straightened where required
Free from tangles and knots
High-velocity dryers help remove loose coat and open up the hair, making clipping smoother and more efficient.
💡 If the coat isn’t dried properly, your tools will struggle — and so will your finish.

7. Comb Through — Your Final Quality Check
Before any clipping or scissoring begins, the comb should glide through the coat effortlessly.
If it doesn’t:👉 The coat isn’t ready
This final step ensures:
No hidden knots, check with your comb
Even coat distribution
A smooth, professional finish
The BIGA Standard: Prep First, Groom Second
At British Isles Grooming Association, we advocate for a shift in mindset:
Most grooming problems are preparation problems.
When coat prep is done correctly:
Blades run cooler and last longer
Scissoring becomes easier and more precise
Grooming time is reduced
Dogs are more comfortable throughout the process
Final Thoughts
If you want to elevate your grooming, don’t look at new tools first — look at your preparation process.
Mastering these six steps will:
✔ Improve your results
✔ Protect your equipment
✔ Enhance dog welfare
✔ Build your professional reputation

Comments